Your Guide to Basement Flooring Made Easy
Your basement can be transformed into the perfect hangout spot, a cozy home office, or even a sleek workout studio. It’s exciting, right? But before you can bring that dream to life, there’s one important decision to make—what kind of flooring will you choose?
Basements are tricky spaces. They deal with things like moisture, temperature changes, and heavy foot traffic, making it essential to pick flooring that can handle it all. That’s why finding the perfect basement flooring isn’t just about looks—it’s about getting a solution that’s durable, practical, and stylish.
In this guide, we’ll walk you through everything you need to know to make the best choice for your basement renovation. From understanding your space’s unique needs to exploring the top flooring options (and their pros and cons), we’ve got you covered. By the end, you’ll have all the tools you need to create a basement that’s not only functional but also a space you’ll love spending time in.
Ready to take your basement renovation to the next level? Let’s dive in!
Evaluating Your Basement’s Needs

Choosing the perfect basement flooring starts with understanding your space. Basements have unique requirements, so evaluating a few key factors will help you make a smart and lasting choice.
Moisture Levels: Waterproof vs. Water-Resistant
Moisture is one of the biggest challenges for basement flooring. Whether your basement is prone to dampness or flooding, you’ll need materials that can handle it.
- Dry Basements: If moisture isn’t an issue, engineered wood or carpet tiles offer comfort and style.
- Damp or Wet Basements: Opt for waterproof materials like vinyl planks or ceramic tile, which resist warping and staining.
Quick Tip: Test your basement for moisture by taping a plastic sheet to the floor. If condensation appears after 24 hours, you may need to address water issues before installing flooring.
Basement Functionality
How you use your basement will guide your flooring decision. Different activities demand different materials:
- Playroom: Soft carpet tiles are kid-friendly and replaceable if damaged.
- Home Gym: Durable vinyl or rubber flooring withstands impact and heavy equipment.
- Living Area: Stylish options like engineered wood or laminate create a warm, inviting space.
Tailoring your flooring to your needs ensures the space is both functional and beautiful.
Budget Considerations
Flooring doesn’t have to break the bank. Affordable options like vinyl or laminate provide style and durability without the high price tag. For a more luxurious feel, consider engineered wood or ceramic tile, which add value to your home but come at a higher cost.
Tip: Carpet tiles are an affordable, versatile solution for many spaces.
Checklist for Your Basement
Ask yourself:
- Is my basement prone to moisture?
- How will I use the space?
- What’s my budget?
- How much wear and tear should it handle?
Answering these questions will help narrow your choices and set you on the right path.
By assessing your basement’s needs, you’re already one step closer to finding the perfect flooring. With a clear idea of what works for your space, you’re ready to explore the best options for your renovation.
The Best Flooring Options for Basements

Now that you’ve taken stock of your basement’s needs, it’s time to dive into the best flooring options. Whether you’re aiming for a budget-friendly solution, something durable, or a stylish upgrade, there’s a perfect basement flooring option for you. Let’s explore.
1. Vinyl Flooring: The Waterproof All-Star
Vinyl flooring is a basement favorite for a reason—it’s 100% waterproof, affordable, and versatile. Available in planks, tiles, or sheets, vinyl mimics the look of wood or stone while being easy to maintain.
- Why It Works: It’s durable, stain-resistant, and ideal for areas with moisture concerns.
- Best For: Basements prone to dampness or those needing a stylish yet practical solution.
- Pro Tip: Opt for luxury vinyl planks (LVP) for a high-end look that’s easy to install.
2. Engineered Wood: Classic and Resilient
If you love the warmth of hardwood but worry about basement moisture, engineered wood is a smart choice. Its layered construction makes it more stable than solid wood, reducing the risk of warping.
- Why It Works: Offers the beauty of hardwood with added durability.
- Best For: Living areas or finished basements with moderate moisture levels.
- Pro Tip: Pair engineered wood with a moisture barrier for extra protection.
3. Carpet Tiles: Comfort and Versatility
Carpet tiles provide a cozy, soft surface underfoot and are easy to replace if damaged. They also help insulate your basement, making it feel warmer and more inviting.
- Why It Works: Affordable, comfortable, and customizable.
- Best For: Playrooms, family rooms, or home theaters.
- Pro Tip: Choose moisture-resistant carpet tiles to reduce the risk of mold or mildew.
4. Ceramic Tile: Durable and Timeless
Ceramic or porcelain tile is a great pick for basements that deal with a lot of moisture. These tiles are waterproof, durable, and available in countless designs to suit your style.
- Why It Works: Long-lasting, low-maintenance, and waterproof.
- Best For: Laundry rooms, bathrooms, or flood-prone basements.
- Pro Tip: Install radiant heating under ceramic tile for added comfort in colder spaces.
5. Epoxy Flooring: Sleek and Durable
Epoxy flooring provides a smooth, seamless surface that’s highly durable and easy to clean. While commonly seen in garages, it’s also a fantastic choice for modern basements.
- Why It Works: Industrial-strength durability with a sleek finish.
- Best For: Home gyms, workshops, or basements with a modern, industrial aesthetic.
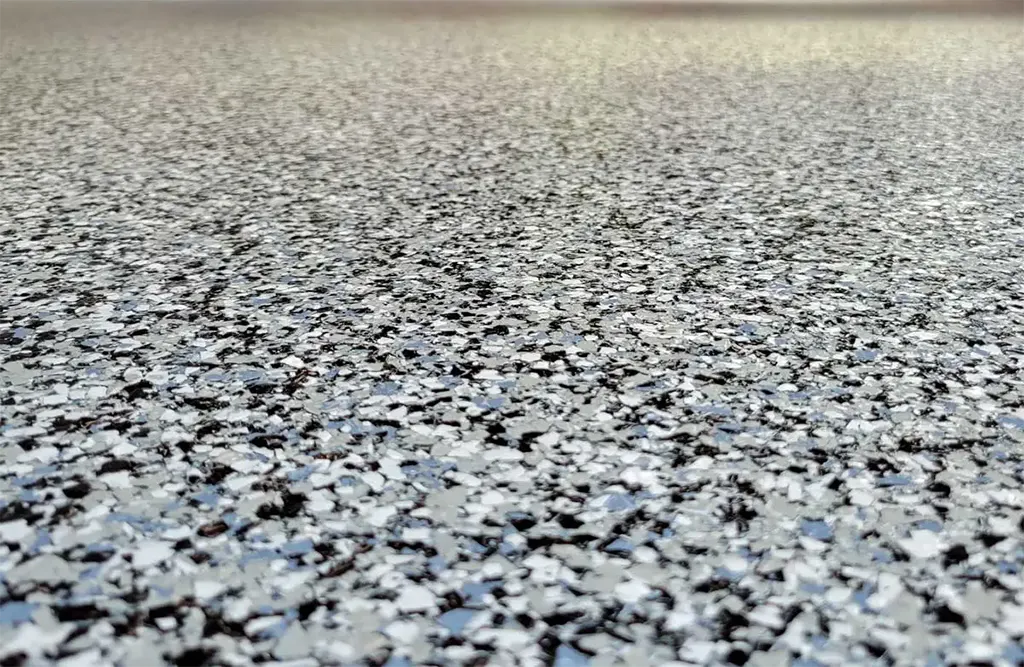
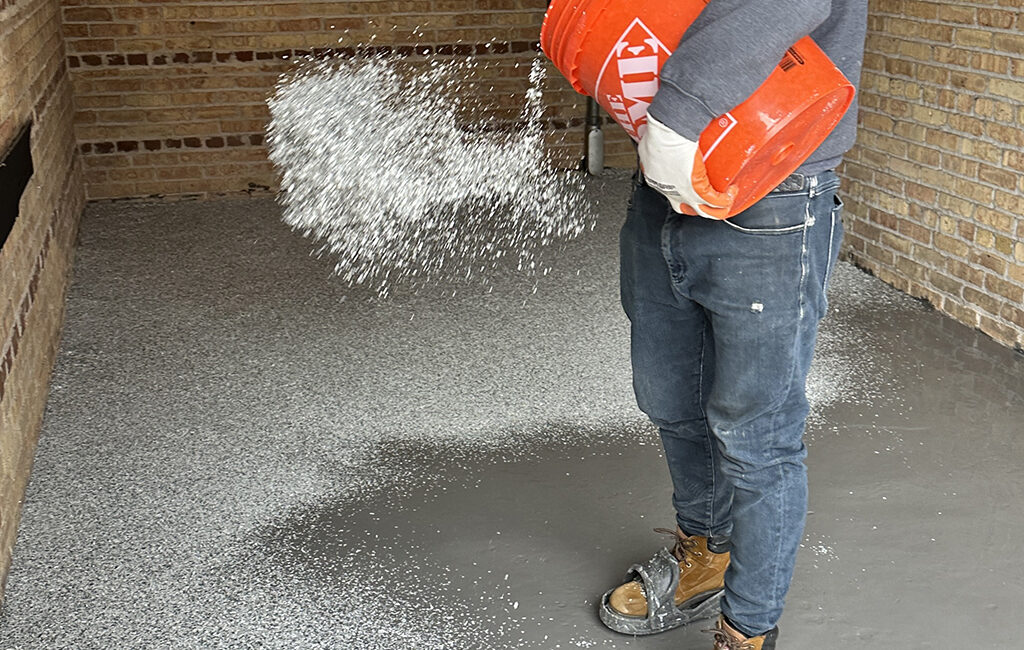
- Pro Tip: Add decorative flakes or pigments for a custom, polished look.
Each of these options brings something unique to the table, ensuring you can find the perfect match for your basement’s needs, style, and budget. Whether you prioritize waterproofing, comfort, or aesthetics, the right flooring will transform your basement into a space you’ll love. Now, let’s get your basement prepped and ready for installation!
Preparing Your Basement for Flooring Installation

Before installing your perfect basement flooring, preparation is essential. Think of this as setting the stage for a flawless final result. By following these straightforward steps, you’ll ensure your flooring looks great, lasts long, and performs well in your unique basement environment.
Step 1: Waterproofing is Essential
Why It Matters: Moisture is a common challenge in basements and can damage even the best flooring. Waterproofing protects your investment and creates a healthier space.
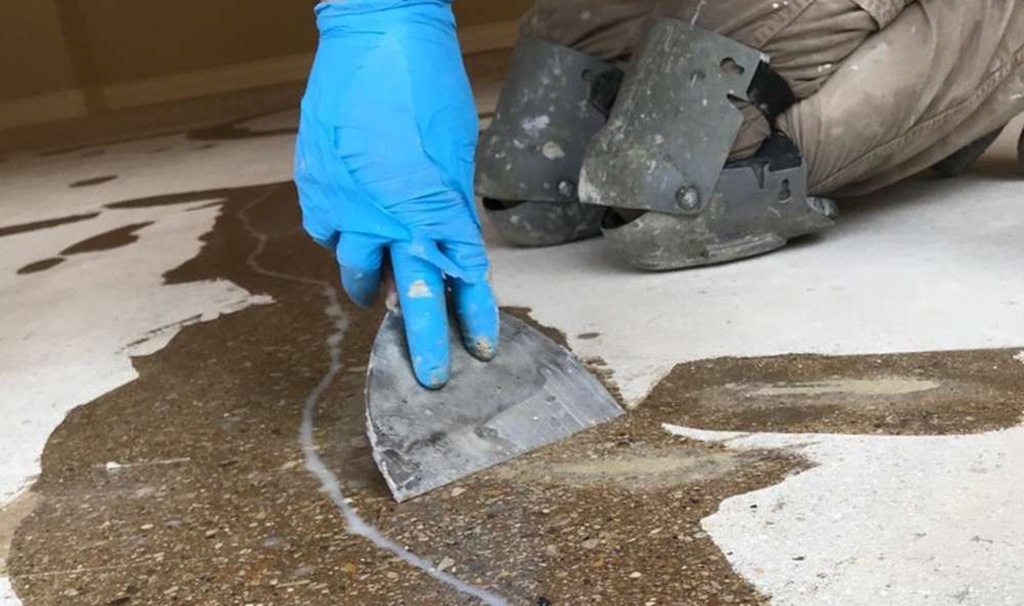
- Seal Cracks: Inspect the floor and walls for cracks. Apply a waterproof epoxy to seal any gaps.
- Test for Moisture: Place a plastic sheet on the floor and leave it for 24 hours. If condensation forms underneath, it’s a sign you need additional waterproofing.
- Extra Measures: Installing a sump pump or dehumidifier can help keep your basement consistently dry.
Visualize: Waterproofing acts like a shield, protecting your basement floor from unseen moisture threats.
Step 2: Level the Surface
Why It Matters: Uneven floors can cause gaps, shifting, or cracks in your flooring over time. A level surface ensures everything fits snugly and looks seamless.
- Spot Uneven Areas: Use a straightedge or long level to identify dips or high spots on the floor.
- Smooth It Out: For minor imperfections, use a self-leveling compound to even out the surface.
- Professional Help: If the floor is significantly uneven, consider hiring a contractor to handle the job.
Visualize: A level floor is like a blank canvas, ready for a smooth and even flooring installation.
Step 3: Add a Moisture Barrier
Why It Matters: Even after waterproofing, water vapor from the concrete slab can still seep through. A moisture barrier adds an extra layer of protection to keep your flooring safe.
- Plastic Sheeting: Simple and effective, this barrier prevents moisture from rising to the surface.
- Special Underlayment: Many modern flooring materials offer underlayment with built-in vapor barriers.
Visualize: This step is like putting on a raincoat before stepping into wet conditions.
Step 4: Insulate for Comfort
Why It Matters: Basements are often cooler than the rest of the house. Adding insulation under your flooring helps maintain a cozy temperature and can reduce energy costs.
- Foam Underlayment: Perfect for materials like vinyl and laminate, this adds warmth and a slight cushion.
- Radiant Heating Systems: Combine with ceramic tiles for a luxurious and warm surface, especially in colder climates.
Visualize: Imagine transforming your cold basement into a space that feels as comfortable as any other room in your home.
Step 5: Clean and Prime the Floor
Why It Matters: A clean, debris-free surface ensures proper adhesion and prevents imperfections in the final installation.
- Sweep and Mop: Remove dirt, dust, and any small debris.
- Scrape Old Adhesive: Use a scraper or adhesive remover to clear away any leftover material from previous flooring.
- Prime the Surface: For some flooring types, applying a primer enhances the bond between the floor and the material.
Visualize: Think of this step as polishing your canvas before starting your masterpiece.
Also read: Basement Flooring 101
Your Basement, Ready for Transformation
By completing these steps, you’re setting the foundation for a successful flooring installation. Proper preparation ensures your basement flooring looks stunning and lasts for years to come. Now that your space is ready, it’s time to bring your vision to life and transform your basement into a functional and beautiful space!
Comparing Costs and Durability

Choosing the perfect basement flooring means finding the right balance between cost and durability. Here’s a quick comparison to help you decide.
Affordable Options
- Vinyl Flooring: Budget-friendly at $2–$4 per square foot, waterproof, and durable.
- Carpet Tiles: Low-cost at $1–$3 per square foot, cozy, and replaceable.
Mid-Range Choices
- Laminate Flooring: $3–$6 per square foot, stylish but needs a moisture barrier.
- Engineered Wood: $4–$8 per square foot, elegant and moisture-resistant.
High-End Investments
- Ceramic Tile: $5–$10 per square foot, waterproof, durable, and long-lasting.
- Epoxy Flooring: $4–$12 per square foot, sleek and nearly indestructible.
Quick Tip
Vinyl flooring offers the best mix of affordability and durability, but high-traffic areas might benefit from long-lasting ceramic or epoxy.
With this breakdown, you’re ready to pick flooring that fits your budget and enhances your basement’s functionality!
Your Basement, Your Vision
Choosing the perfect basement flooring doesn’t have to be overwhelming. By understanding your space’s unique needs, exploring the best options, and preparing your basement properly, you’re already on the path to success. Whether you go for waterproof vinyl, cozy carpet tiles, or luxurious engineered wood, the right flooring will transform your basement into a space you’ll love.
Remember, your basement is an extension of your home—make it functional, stylish, and tailored to your lifestyle. With the right flooring, you’ll not only protect your investment but also create a space that feels like home.
Now, it’s time to bring your vision to life and start your basement renovation! Have questions or need more inspiration? Leave a comment below or reach out—we’d love to help. Happy renovating!

