Are you considering an epoxied garage floor for its unbeatable durability and sleek appearance? You’re not alone. In this article, we’ll dive into why epoxy could be the ideal solution for your garage, how to prep and apply it, what costs to expect, and how to maintain the pristine finish. We’ll also explore DIY versus professional installation, ensuring you have the knowledge to make an informed decision on this transformative home improvement project.
Key Takeaways
Epoxy garage floors are tough, lasting up to 20 years, and offer benefits like heavy load endurance, mold resistance, and customizable aesthetics.
Prepping your garage floor is critical to epoxy application success, including cleaning, degreasing, repairing damages, and etching or grinding the concrete.
Professional epoxy installation can range between $5 to $12 per square foot, but DIY-ing can save on labor costs if you’re comfortable with the process and have the right tools.
Understanding Epoxy Garage Floors
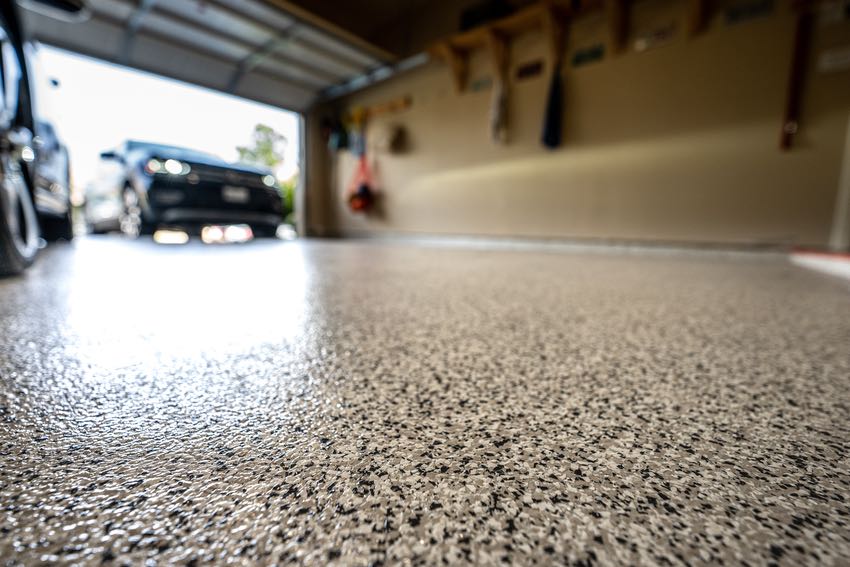
Epoxy garage floors are a game-changer for any garage space, including those with concrete floors. They are created using a multi-layered epoxy floor coating system, an essential component of garage flooring. This system includes a base coat, intermediate coats, and a topcoat, all crucial for high-quality garage floor coatings.
These floors are well-known for their longevity, often lasting 10 to 20 years with proper application and maintenance.
The Composition of Epoxy Coatings
The formulation of epoxy coatings consists of a combination of epoxy resins and polymer hardeners. The crucial role played by the hardener component is to trigger the curing process, transforming liquid epoxy resin into a durable and resilient coating. This chemical composition imparts the characteristic toughness that makes these coatings stand out.
Benefits of Choosing Epoxy
Epoxy floors have a multitude of advantages that make them a great alternative to traditional concrete flooring. Not only can they withstand the weight and pressure of heavy vehicles, but they also protect against damage caused by dropped tools, making them highly durable in garage settings.
Epoxy floors are resistant to water damage and effectively prevent the growth of mold and mildew. This helps maintain a cleaner appearance for the floor and promotes better air quality in garages. With their strong resilience against wear and tear, it’s no wonder why many homeowners choose epoxy over standard concrete when looking for reliable solutions for their garage flooring needs.
Aesthetic Options with Epoxy

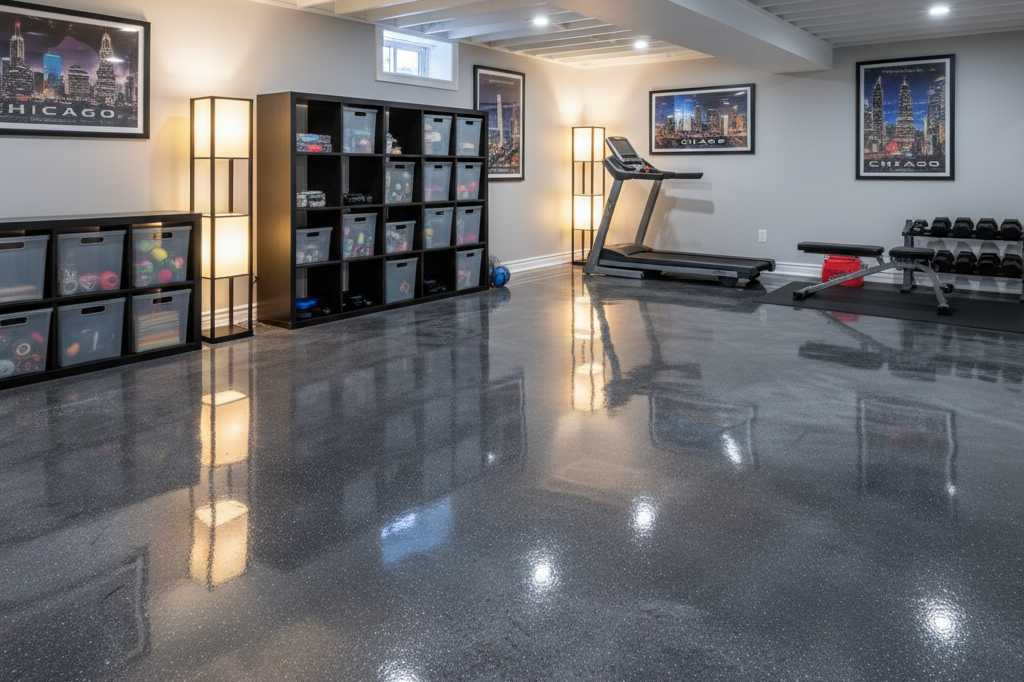
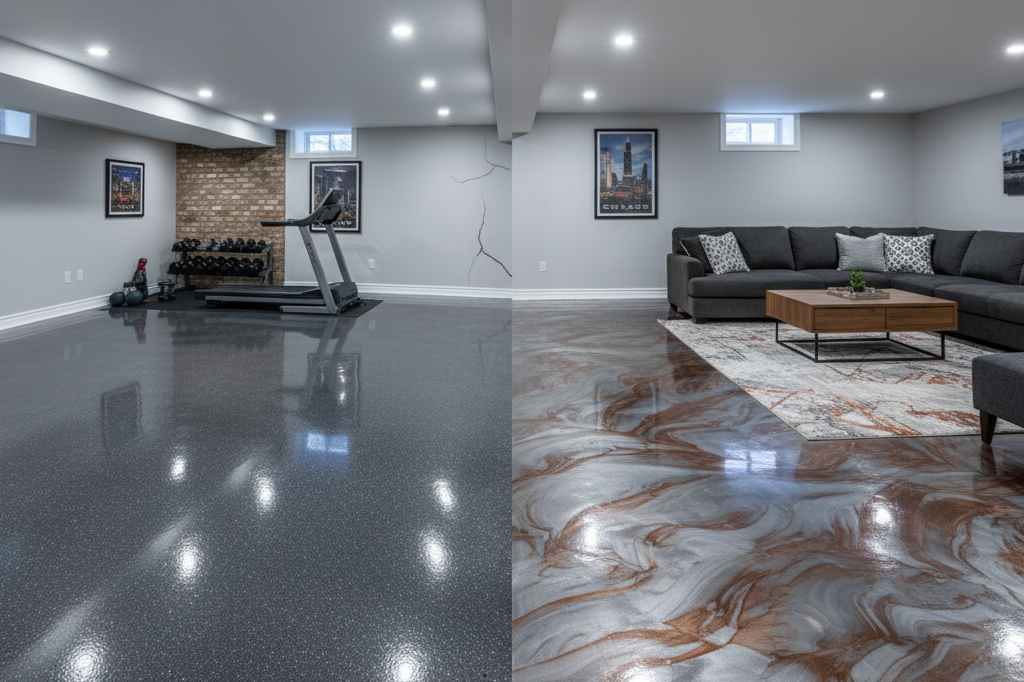
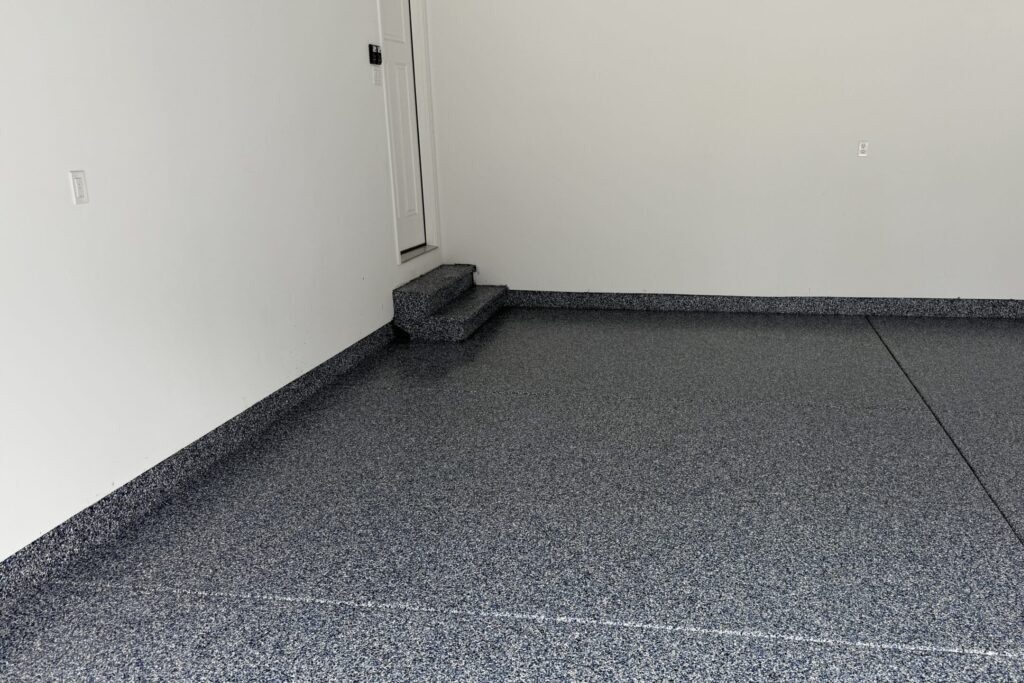
An appealing feature of epoxy flooring is its versatile appearance. Epoxy coatings provide a wide range of color options to complement various design preferences. Unique patterns can be achieved using random flakes and high-quality finishes resembling metallic coatings, which are possible with the glossy look of epoxy.
Prepping Your Garage Floor for Epoxy Application
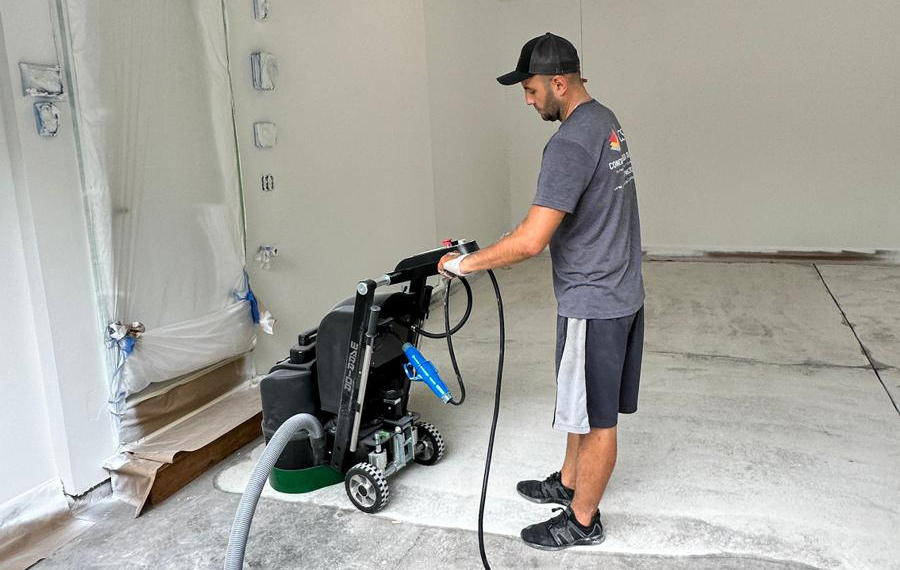
Before applying epoxy, it is important to prepare your garage floor properly. This involves thoroughly cleaning the entire surface with a high-powered detergent and warm water and degreasing to remove any traces of grease, wax, or oil. These steps will ensure that the application of epoxy results in optimal adhesion on your garage floor.
Cleaning and Degreasing
Properly preparing your garage floor involves crucial steps such as cleaning and degreasing. To guarantee the removal of all dirt and grease, thoroughly scrub the surface with an appropriate brush and detergent.
After completing the cleaning process, ensure that you allow enough time for the concrete to fully dry before applying epoxy primer or coatings. This will help achieve better results in terms of adhesion when working with epoxy products.
Repairing Cracks and Damage

Properly filling in all cracks in the concrete is an essential part of achieving a seamless and durable epoxy coating. This will not only prevent bubbles from forming, but also protect against peeling due to regular use.
For bigger cracks or holes, it may be necessary to use a specialized concrete patching compound with added ingredients for increased flexibility and strength. This extra step ensures that your epoxy finish will withstand wear and tear over time.
Acid Etching or Grinding
To properly prepare your garage floor for epoxy, acid etching or grinding the surface is a crucial step. This involves applying an etching solution to the concrete surface and then thoroughly rinsing and allowing it to completely dry. This process creates the ideal surface for proper bonding of the epoxy with the garage floor.
The Cost to Epoxy Your Garage Floor

After learning the necessary steps to prepare a garage floor for epoxy, it’s important to consider the cost. On average, people in the United States spend around $2,227 on their epoxy garage floors. This amount can vary depending on factors such as the size of your garage, labor expenses, and chosen preparation methods.
Material Costs Per Square Foot
The price of epoxy flooring supplies typically falls within the range of $0.37 to $1.40 per square foot but may increase as the size of the garage increases. It is important to note that if additional coats of epoxy are needed, there could be an added cost associated with this material.
Labor Expenses and Professional Fees
The cost of labor for epoxying a garage floor can range from $3 to $7 per square foot, which is part of the total installation fees that typically fall between $5 and $12 per square foot. Opting to do the epoxy application yourself may reduce labor costs, but hiring a professional guarantees skilled application and satisfactory outcomes.
DIY vs. Hiring a Professional
Choosing between applying epoxy yourself or hiring a professional largely depends on the scale and intricacy of the task, as well as your confidence in handling DIY projects. Doing it yourself can be attractive because it allows for individualized design options and potential cost-cutting measures.
Equipment and Supplies for DIY
To properly apply epoxy yourself, you will need a range of installation tools, including 18” and 9” roller cages, a three-inch paintbrush, squeegees, trowels, and suitable roller covers to ensure an even application. It is important not to overlook the importance of personal safety equipment such as dust masks.
Wear ear protection, safety glasses, and knee pads while working with this substance.
When to Choose a Professional Installer
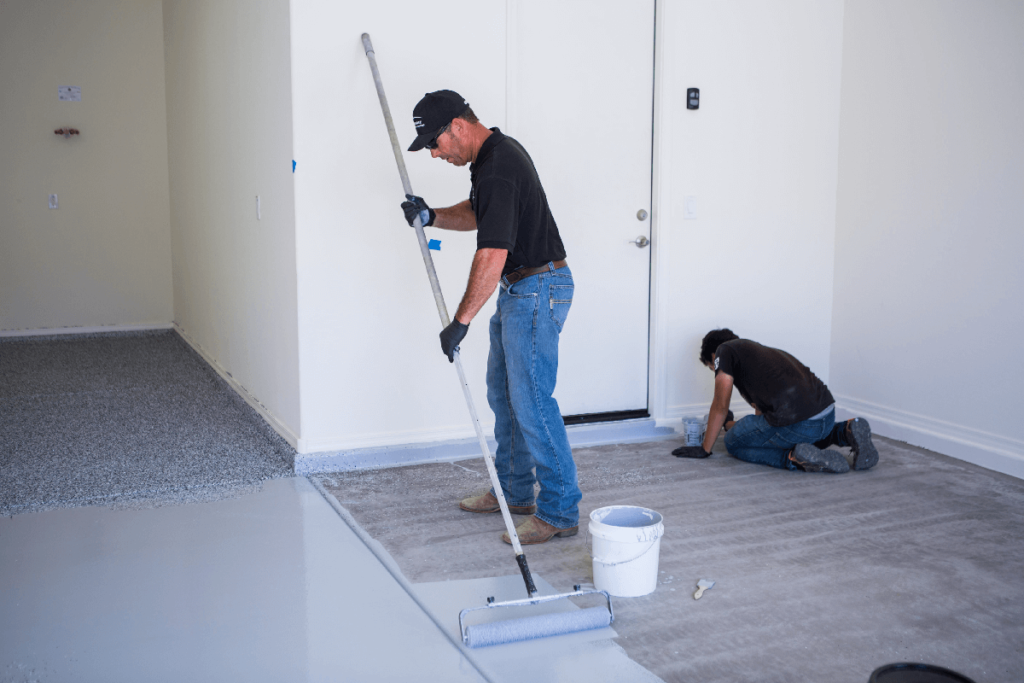
While attempting a DIY epoxy application can be satisfying, choosing to hire professionals offers the advantage of accessing their specialized skills and experience in the industry. This provides peace of mind for homeowners and ensures that high-quality materials and tools are used during the process. Professionals follow established best practices to deliver a flawless finish and guarantee quality assurance throughout every step. With their expertise, homeowners can trust in receiving top-notch results from their epoxy project.
Selecting the Right Epoxy Kit for Your Garage
Selecting the appropriate epoxy kit for your garage is crucial in getting the desired results. Key considerations should include the product’s durability, ease of use during application, and the visual appeal it adds to your space.
Factors to Consider in Epoxy Kits
When deciding on an epoxy kit, it’s important to consider elements such as solids percentage, thickness level, application simplicity and cost. Among the different types available – water-based, solvent-based and 100% solid formulations – the latter is known for its exceptional durability and long-lasting performance.
For those searching for reliable garage floor epoxy kits, there are a few top options worth considering. Among them is the Craftsman Epoxy Garage Floor Coating, which stands out for its effortless application process and long-lasting properties. Another great choice is the MPC-100 Epoxy Kit, designed specifically for industrial use due to its exceptional durability and resistance against chemicals.
Applying the Epoxy Coating Step by Step
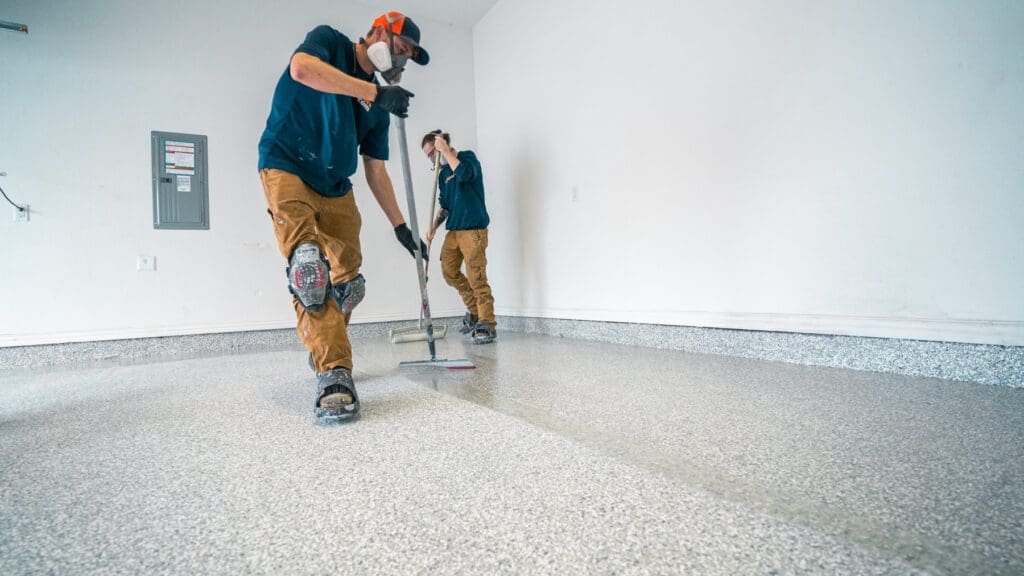
Next, we will cover the process of applying an epoxy coating. It requires following a specific set of steps, which begins with ensuring proper mixing and utilizing appropriate methods to achieve uniform coverage. This should be followed by allowing ample time for the recommended curing period.
Mixing Epoxy Components Correctly
The initial stage of applying epoxy involves blending its components. It is essential to maintain the proper mixing ratio, which is 2 parts resin for every 1 part hardener in terms of volume. A jiffy type mixer should be utilized. The mixture must be stirred for at least three minutes to guarantee a complete amalgamation and activation of the resin and hardener.
Techniques for Even Application
It is important to use proper techniques for a smooth and consistent application of epoxy. Begin by using a three-inch paintbrush to accurately coat the edges of the floor. Then, switch over to a nine-inch roller with a 1/2 inch nap roller cover when applying the majority of the epoxy on your flooring surface.
Curing Time and Aftercare
Once the epoxy has been applied, it will begin to cure. The following are some general timeframes for drying:
Epoxy floors may be touch dry within 24 hours.
It typically takes about 24 to 72 hours for them to completely dry and be ready for light foot traffic.
For a full chemical-resistant cure, it can take up to 28 days but many floors will cure faster with an average of seven days.
Additional Epoxy Flooring Considerations
Aside from the aforementioned aspects, there are various other elements to take into account when choosing epoxy flooring. These may involve assessing any moisture problems in the concrete and utilizing a power washer for maintenance of the epoxied surface.
Temperature and Weather Conditions
The cure of epoxy flooring is greatly affected by the temperature and weather conditions. To ensure successful results, it is recommended to install epoxy within a range of 55-75 degrees Fahrenheit.
Weather can significantly impact the installation process and maintenance requirements for epoxy flooring. Proper scheduling and labor considerations must be made in accordance with external elements to achieve optimal outcomes.
Chemical and UV Protection
To protect against chemicals and UV rays, it is crucial to consider traction when choosing an epoxy coating. Some coatings contain additives that decrease slipperiness and must also have adequate protection from sunlight as they are prone to yellowing upon exposure.
Maintaining Your Epoxied Garage Floor

Properly caring for your epoxy floor is essential once it has been installed. This includes regular sweeping with a soft-bristled brush or utilizing machinery to avoid the buildup of dust and debris on the surface. It is important to maintain cleanliness in order to preserve the quality and appearance of your floor’s epoxy coating.
Routine Cleaning Tips
To maintain the quality of your epoxy floor, it is essential to regularly clean and take proper care. You can prevent excessive build-up of dirt and moisture on the surface by using entry mats.
For routine cleaning, make sure to use a dust mop frequently to keep your epoxy flooring free from debris.
Addressing Spills and Stains
Messes and blemishes are bound to happen, but they can be handled appropriately. In the event of any liquid spills, it’s important to immediately clean them up so that there is no risk of softening, discoloration, or even removal of your epoxy coating.
For oil and grease stains on the surface with an epoxy coating, promptly scrub away using trisodium phosphate (TSP) as per instructions stated on the detergent label.
Enhancing Your Garage Floor with Additional Features
Once you have applied an epoxy coating to your garage floor, various additional features can be incorporated for improvement. These options include safety markings as well as customized designs or logos tailored to your preferences and needs.
Also read: How to Pick the Perfect Flooring for Your Basement Renovation
Incorporating Safety Features
In order to ensure safety in a garage, it is important to consider various precautions. One effective way is by incorporating non-skid additives and reflective chips into your epoxy coatings. This not only enhances visibility within the garage but also helps minimize potential slips and falls on slippery surfaces.
Customizing with Color Flakes and Patterns
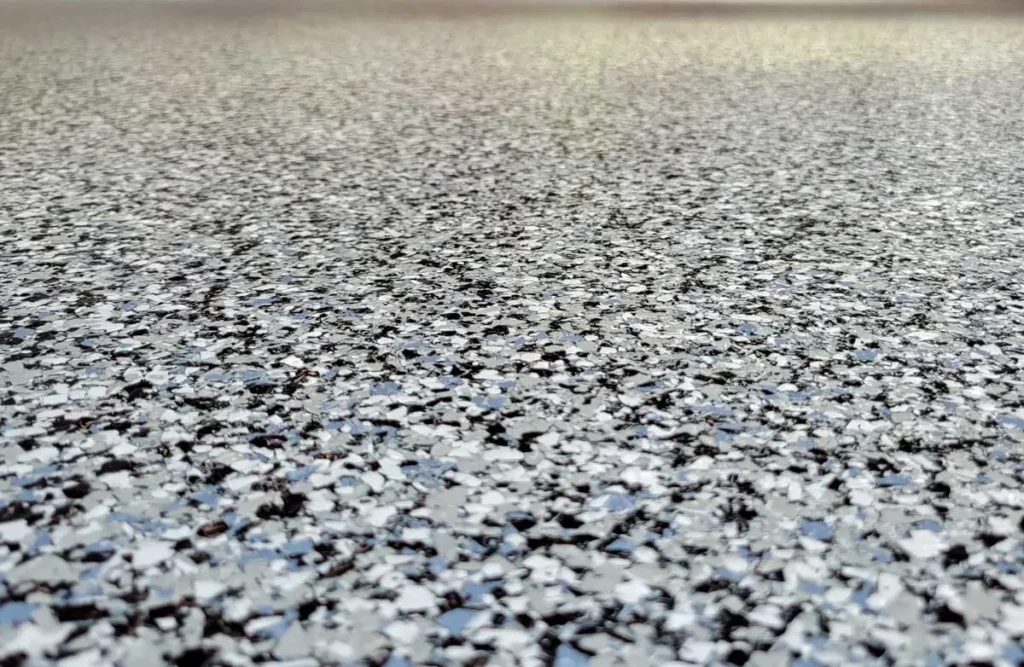
Enhancing your garage floor with various color flakes, patterns, and specially chosen garage floor paint can give a one-of-a-kind look to your space. Utilizing high-shine epoxy coatings has the added benefit of improving lighting in the garage by reflecting light, resulting in a more well-lit and welcoming atmosphere.
Summary
We’ve covered a lot of ground, from understanding what epoxy flooring is to how to select the right epoxy kit for your garage, and even how to enhance your garage floor with additional features. Remember, a well-maintained epoxy floor not only looks stunning but also increases the functionality and safety of your garage.
Frequently Asked Questions
Should the garage floor be epoxied?
Epoxy is actually a superior choice for garage floors, offering exceptional durability and a sleek appearance that outmatches traditional concrete. Its resilience to heavy traffic, resistance to mold, and customizable aesthetics make it a standout option.
Opting for epoxy means investing in a floor that can handle the rigors of garage use while maintaining its luster over time. It’s a smart move to choose epoxy for a garage floor that combines both form and function, ensuring a long-lasting and visually appealing finish.
Are epoxy garage floors worth the money?
Investing in epoxy garage floors is a wise decision as they offer an impeccable, resilient, and low-maintenance surface that can withstand stains, chemicals, and wear. Due to their ability to endure heavy use, these floors are particularly well-suited for garages.
How long will the epoxy garage floor last?
The lifespan of an epoxy garage floor is usually between 10 and 20 years, depending on variables such as thickness, frequency of use, and upkeep. These floors tend to have a longer-lasting durability to a painted concrete floor.
One can anticipate long-term protection for their garage’s flooring by opting for an epoxy coating.
What are the disadvantages of epoxy flooring?
One of the drawbacks of using epoxy flooring is its requirement for a clean and crack-free surface to be applied appropriately. If adequate preparation is not done, this can result in decreased effectiveness of the flooring, ultimately leading to additional expenses and time-consuming efforts.
What is the ideal temperature for curing epoxy?
The recommended temperature for the curing process of epoxy is 55 to 75 degrees Fahrenheit. This specific range ensures successful curing while avoiding potential problems with moisture.

