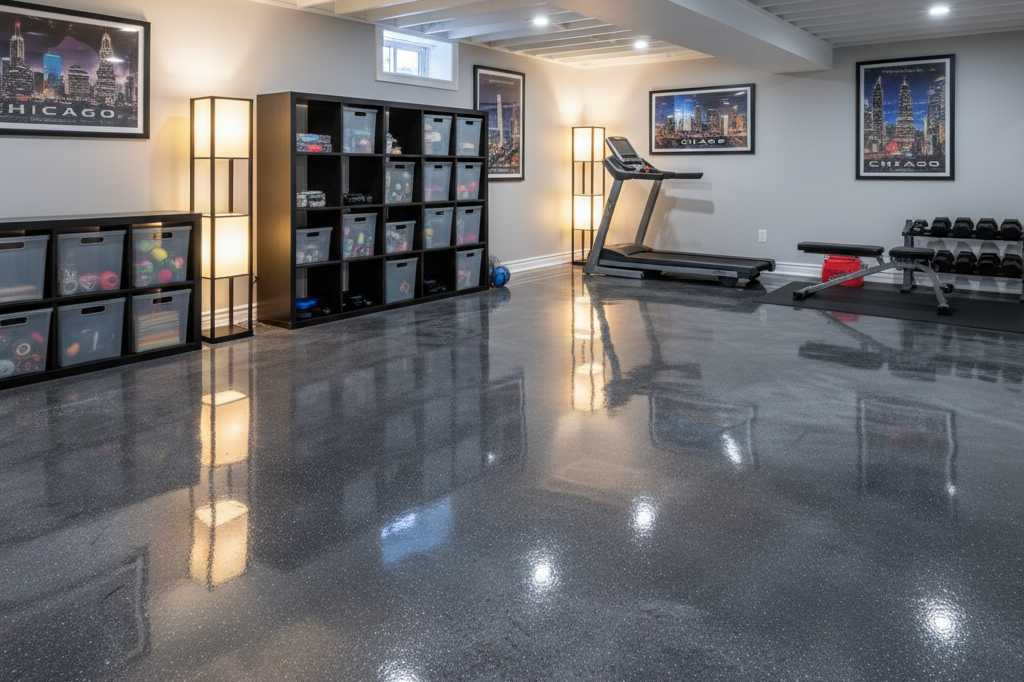
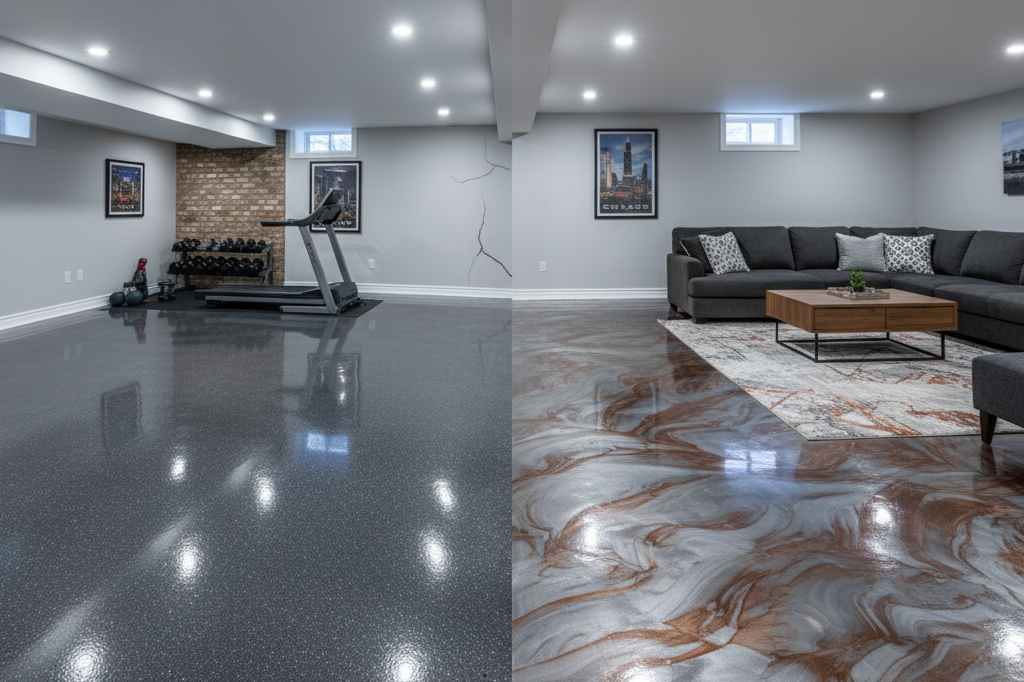
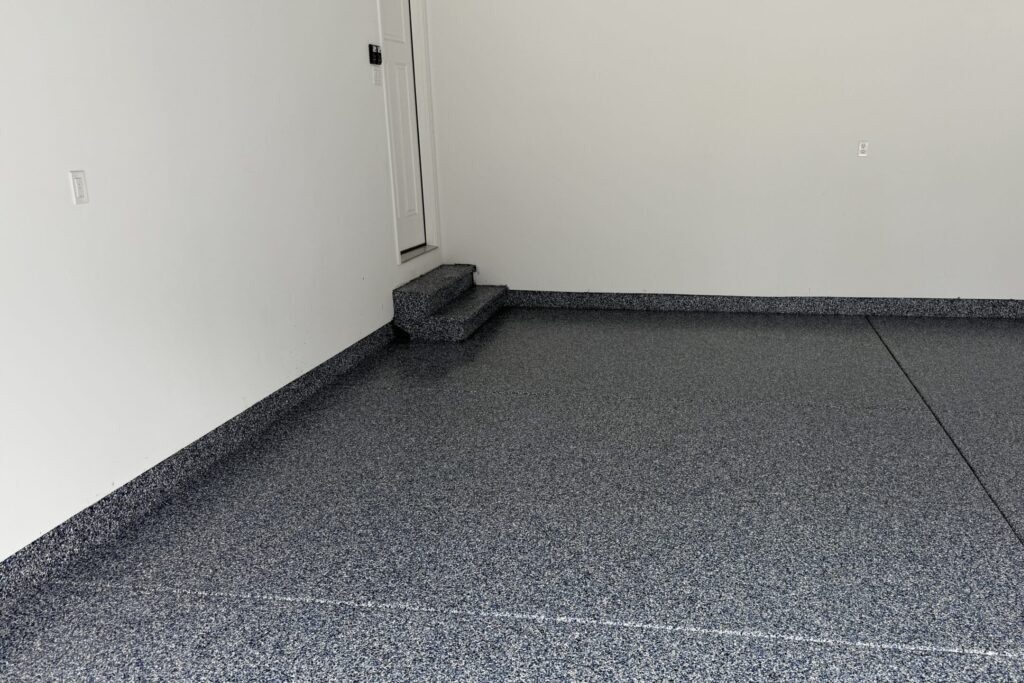
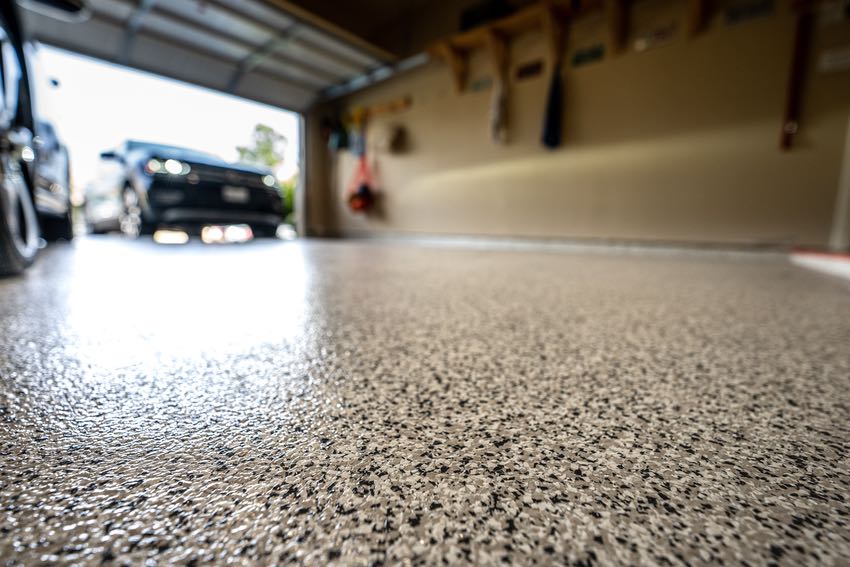
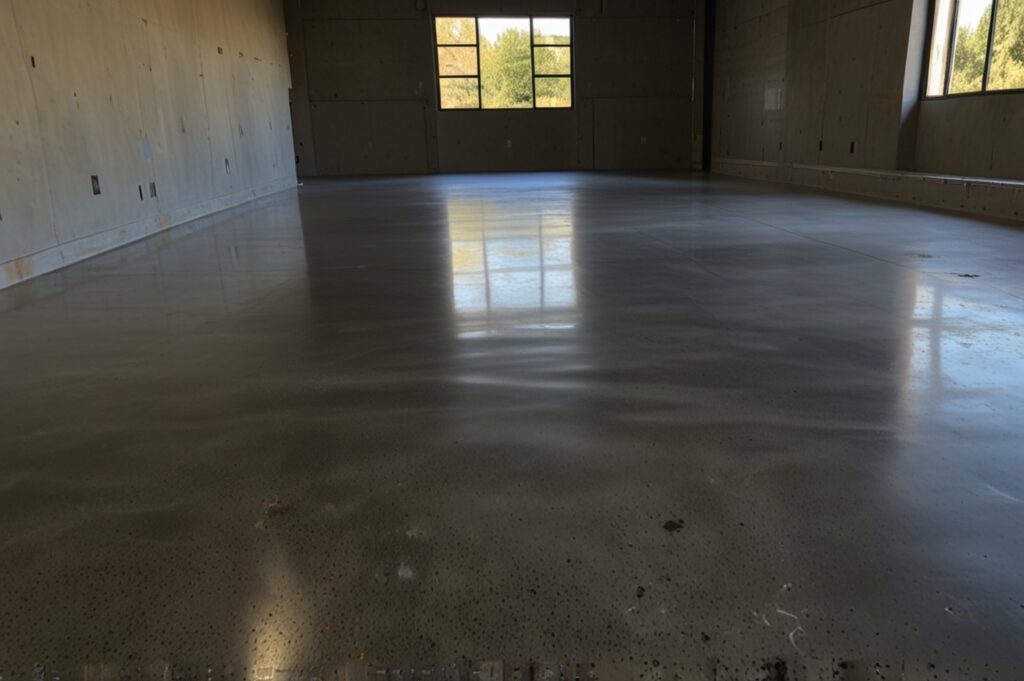
If you’ve ever scrolled through pictures of gleaming epoxy garage floors and thought, “I want that in my garage,” you’re not alone. Epoxy is one of the most popular ways to upgrade a plain concrete floor—it transforms a dull, dusty space into something that looks clean, durable, and even showroom-worthy. But here’s the catch: while epoxy coatings can last for years when installed correctly, a single mistake during the process can leave you with peeling, bubbling, or patchy results.
That’s why this guide is so valuable. We’ll walk through the top mistakes to avoid when installing epoxy garage floor coating, breaking down what usually goes wrong and how you can get it right the first time. Whether you’re planning a DIY project or just want to understand what to look for if you hire a pro, these insights will save you time, money, and frustration—and help ensure your floor ends up looking as good as the ones you see online.
Mistake #1: Skipping Critical Surface Preparation
Ask any experienced epoxy garage floor installers, and they’ll tell you the same thing: surface prep is everything. It doesn’t matter how expensive your epoxy is or how carefully you apply it—if the concrete underneath isn’t ready, the coating won’t stick. This is the number one reason people end up with peeling or flaking floors just a few months after installation.
The problem is that concrete floors usually look “good enough” at first glance. They might appear clean, but hidden issues like oil stains, dust, old sealers, or even microscopic moisture in the slab can prevent epoxy from bonding properly. Skipping this step is like painting over a dirty wall—the finish just won’t last.
So, what does proper prep look like? Here’s what professional epoxy garage floor installers do before they even open a can of coating:
- Deep cleaning and degreasing: Oil and grease seep into concrete, so they must be scrubbed out with a degreaser.
- Grinding or acid etching: This roughens the surface to give the epoxy something to grip.
- Dust and debris removal: Even a thin film of dust can create adhesion problems, so industrial vacuums are often used.
- Moisture testing: A simple plastic-sheet test or moisture meter can reveal hidden water vapor that could ruin the finish.
If you’re tackling the project yourself, don’t cut corners here. Take the extra time to prepare your floor the way a pro would. It might not be the most glamorous part of the process, but it’s the foundation of a flawless, long-lasting epoxy finish.
Mistake #2: Ignoring Moisture Issues in Concrete
One of the sneakiest problems with epoxy floors is something you can’t always see—moisture. Even if your garage looks perfectly dry, concrete is a porous material, which means water vapor can creep up from beneath the slab. When that happens, it pushes against the epoxy, causing bubbles, peeling, or entire sections to lift right off the floor.
This is a mistake many DIYers make because it’s easy to assume that “dry to the touch” means safe to coat. Unfortunately, without testing, you won’t know what’s happening under the surface. That’s why epoxy garage floor installers always check for moisture before applying a coating.
Here are a couple of simple ways you can do the same:
- Plastic sheet test: Tape a piece of plastic to the floor and leave it for 24 hours. If moisture collects underneath, your slab has a vapor issue.
- Moisture meter: A more accurate tool that measures how much moisture is present in the concrete.
If your garage floor does show signs of moisture, don’t panic—you still have options. Installers often apply a vapor barrier primer or recommend different coating systems that can handle higher moisture levels. The key is catching the problem before you roll out epoxy. Skipping this step is a sure way to waste time and money on a floor that won’t last.
Mistake #3: Using Cheap or Wrong Garage Floor Coating
When it comes to upgrading your garage, not all products are created equal. One of the biggest mistakes homeowners make is grabbing the cheapest garage floor coating kit from a big-box store and expecting it to perform like a professional-grade system. The truth? Most budget kits are designed for light use and tend to wear out quickly under the weight of vehicles, tools, and daily traffic.
The problem isn’t just durability—it’s also about choosing the right type of coating for your needs. For example:
- Water-based epoxies are easy to apply but not as tough as solvent-based or 100% solids epoxy.
- 100% solids epoxy is much thicker and more durable, making it ideal for garages that see heavy use.
- Polyaspartic coatings cure faster and offer excellent UV resistance, which helps prevent yellowing over time.
The mistake happens when people don’t research the differences and assume “epoxy is epoxy.” But just like paint, there’s a huge range in quality, finish, and performance.
If you want a floor that lasts, invest in a product designed for garages, not just a general concrete sealer. Paying a little more upfront for a professional-grade garage floor coating will save you from costly repairs or complete re-dos down the road.
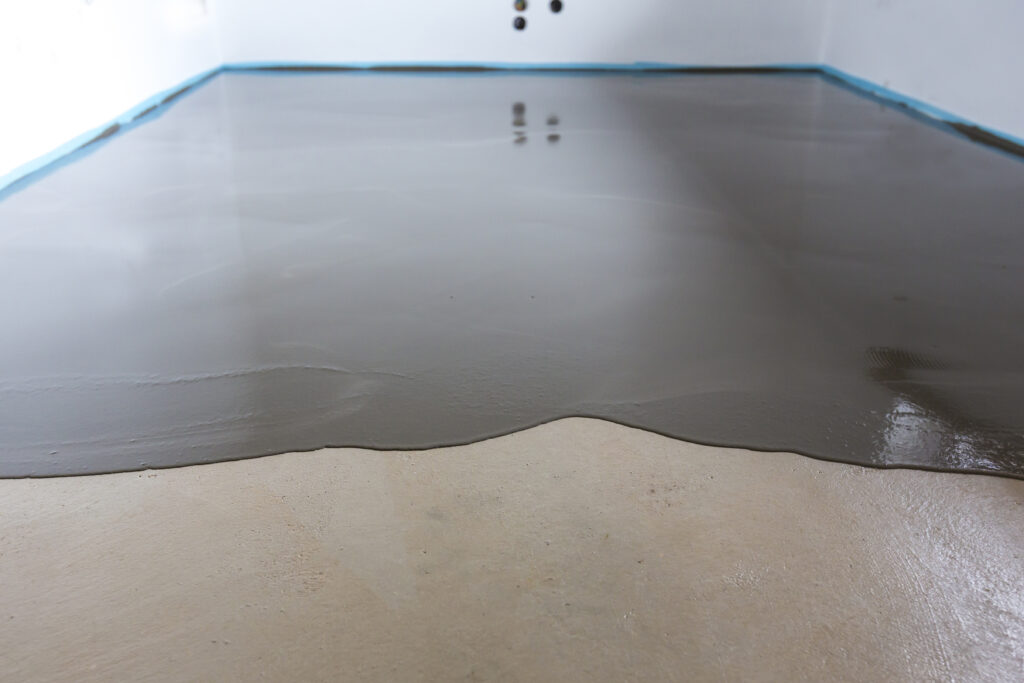
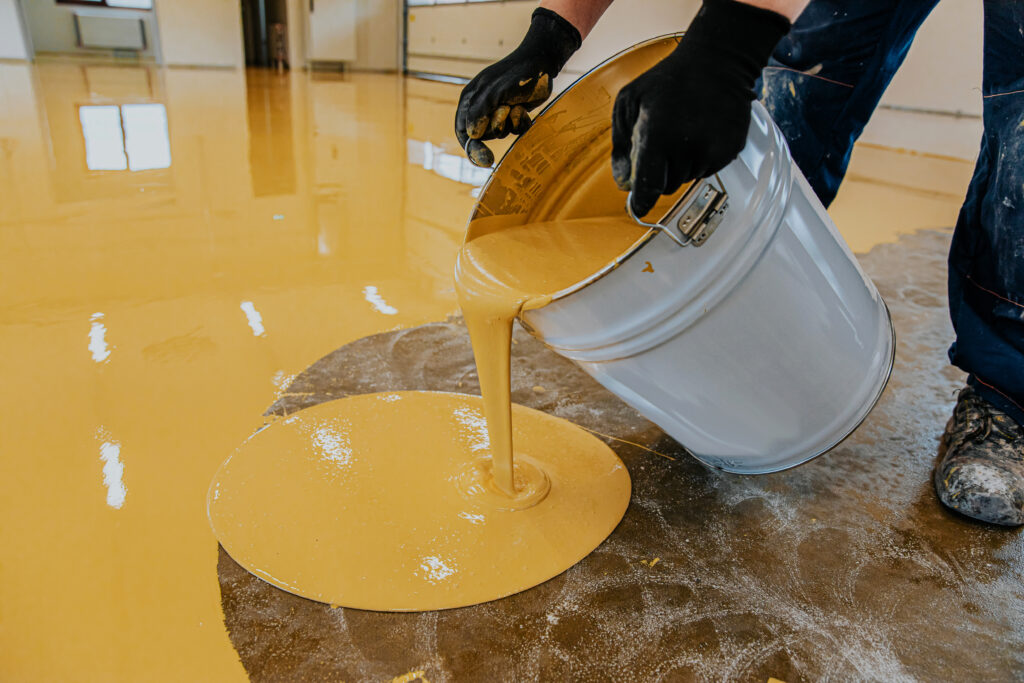
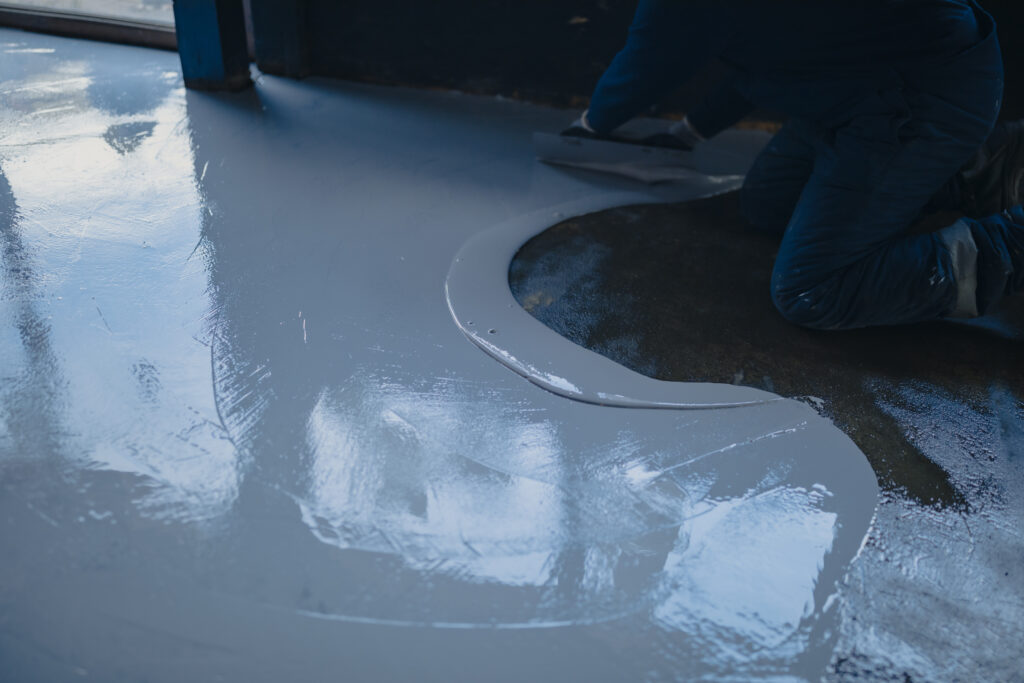
Mistake #4: Mixing or Applying Epoxy Incorrectly

Even with the best products, your results can fall apart if the epoxy isn’t mixed or applied the right way. Unlike paint, epoxy is a two-part system—resin and hardener—that must be blended in the correct ratio. If the mix is off, the coating may never cure properly, leaving you with a sticky, uneven mess.
This is where many DIY projects go wrong. Rushing the mixing process, not scraping the sides of the bucket, or letting the mixture sit too long before applying are all common slip-ups. Professional installers treat mixing like science because they know one small mistake can compromise the whole project.
And it’s not just about mixing—application matters just as much. Pouring out too much at once, rolling unevenly, or trying to stretch product too far can all lead to thin spots and weak coverage. That’s why many pros prefer using squeegees and rollers in combination to spread the epoxy consistently.
Here’s the big takeaway: whether you’re working with epoxy or concrete coatings, precision is key. Measure carefully, mix thoroughly, and apply steadily. Taking your time during this step ensures the coating cures correctly and delivers that smooth, professional-looking finish you want.
Mistake #5: Installing in the Wrong Conditions
Here’s something most people don’t realize: the environment in your garage plays a huge role in how well your epoxy floor coating cures. Epoxy isn’t as forgiving as paint—you can’t just roll it on whenever you feel like it and expect great results.
Temperature and humidity are the biggest factors. If it’s too cold, the epoxy may not harden correctly. If it’s too hot, it can set too quickly and become difficult to spread evenly. And if the humidity is high, you risk a cloudy or hazy finish that takes away from that glossy, showroom look you’re going for.
That’s why professional installers always check the weather forecast and the manufacturer’s specifications before getting started. In most cases, the sweet spot for epoxy application is:
- Temperature: Between 60°F and 85°F.
- Humidity: Below 85% to prevent moisture-related issues.
- Ventilation: Good airflow helps with curing and keeps fumes under control.
If conditions aren’t right, the best thing you can do is wait. Applying an epoxy floor coating at the wrong time is almost guaranteed to cause problems, from uneven curing to peeling down the road. Patience here really pays off.
Also Read: Finding the Right Epoxy Flooring Company in Chicago: What to Know Before Hiring
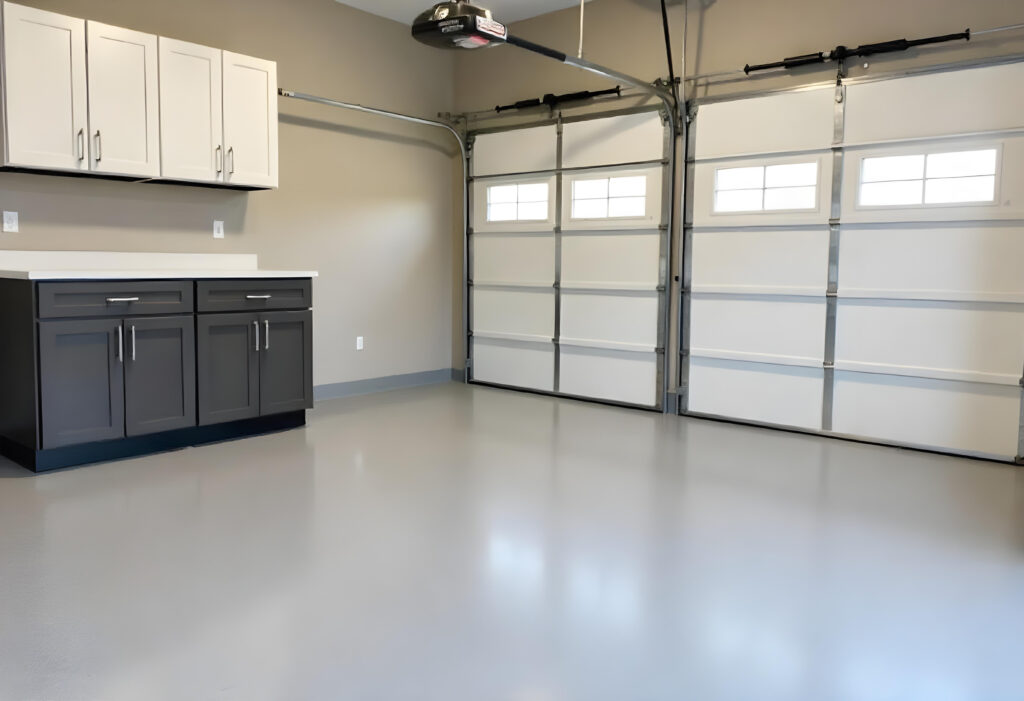
Mistake #6: Skipping the Protective Topcoat
Many homeowners think once the epoxy is down, the job is finished. But here’s the truth: without a protective top layer, your garage epoxy flooring is far more likely to scratch, fade, or yellow over time. Epoxy by itself is tough, but daily wear and tear—like car tires, dropped tools, or even sunlight—can break it down faster than you’d expect.
That’s why professionals almost always apply a clear topcoat. It acts like a shield, sealing in the epoxy and giving it extra resistance against chemicals, UV rays, and heavy use. Skipping this step is like buying a brand-new car and refusing to wax it—you’re leaving it vulnerable to damage that’s completely preventable.
Here are a couple of options pros often recommend:
- UV-resistant epoxy topcoat: Helps prevent discoloration and keeps the surface looking bright.
- Polyaspartic topcoat: Extremely durable, fast-curing, and resistant to both scratches and chemical spills.
Adding a topcoat doesn’t just protect—it also enhances. It gives your floor that glossy, polished look that makes the entire garage feel upgraded. If you want your garage epoxy flooring to stay beautiful for years, don’t treat the topcoat as optional—it’s essential.
Mistake #7: Not Allowing Enough Cure Time
One of the hardest parts of installing an epoxy garage floor coating isn’t the prep, the mixing, or even the application—it’s waiting. After spending hours transforming your garage, it’s tempting to walk on it, park your car, or start moving storage bins back right away. But rushing the cure time is one of the quickest ways to ruin all that hard work.
Epoxy doesn’t just “dry” like paint—it chemically hardens. This process takes time, and if you add weight, pressure, or moisture too soon, you can create permanent marks, weaken the bond, or even cause sections to peel.
Here’s a general timeline most installers recommend:
- Light foot traffic: After about 24 hours.
- Heavy items or light equipment: 48–72 hours.
- Vehicle traffic: Wait 5–7 full days for maximum durability.
Of course, exact cure times vary depending on the product and conditions, so always check the manufacturer’s guidelines. A little patience now ensures your epoxy garage floor coating looks flawless and lasts for years, instead of needing touch-ups before you’ve even enjoyed it.
Mistake #8: Skipping Professional Help When It’s Needed
Epoxy can absolutely be a DIY project, but there’s a reason experienced garage floor installers stay busy year-round: the process is more complex than most people expect. Between surface prep, mixing ratios, moisture control, and proper application techniques, there are plenty of opportunities for things to go wrong.
If you’ve got a small garage and love tackling projects yourself, you might feel confident handling it. But for larger garages, high-traffic areas, or when you want a showroom-quality finish, bringing in the pros is often the smarter move. They have the tools to grind concrete correctly, the knowledge to choose the right coating system, and the experience to avoid the costly mistakes we’ve been covering.
Here’s a tip: if you’ve been Googling epoxy floor coating near me, chances are you’re already wondering whether the DIY route is worth the risk. Hiring a pro doesn’t just save you time—it ensures your investment pays off with a durable, beautiful finish that lasts.
Plus, professional garage floor installers often provide warranties on both the materials and the labor. That means peace of mind—if something goes wrong, you’re not left footing the bill for a redo.
The takeaway? DIY is doable, but if you’re aiming for a flawless, long-lasting floor, don’t hesitate to call in the experts. Sometimes the best investment is in professional hands.
Conclusion & Next Steps
Installing an epoxy floor is one of the best upgrades you can make to your garage—it boosts durability, improves appearance, and even adds value to your home. But as we’ve seen, small mistakes like skipping surface prep, ignoring moisture issues, or rushing the cure time can undo all your hard work. The good news? Now that you know the most common pitfalls, you can avoid them and get the long-lasting, professional-looking finish you want.
If you’re ready to tackle the project yourself, take your time with each step and follow the manufacturer’s guidelines closely. And if you’d rather skip the stress, working with trusted professionals can give you peace of mind and a flawless result.
Looking for expert help? Don’t hesitate to contact us today to learn more about professional epoxy garage floor installation in your area. Whether you’re researching “epoxy floor coating near me” or simply want advice from experienced installers, we’re here to help you transform your garage into a space that’s as durable as it is impressive.